Camera Driver and Visualization
Hint
Operating environment and software/hardware configuration are as follows:
- OriginBot Robot (Visual Version/Navigation Version)
- PC:Ubuntu (≥20.04) + ROS2 (≥Foxy)
Camera Driver Routine
The OriginBot system image has already built-in camera drivers. To ensure that the camera is connected correctly and recognized by the system, let's run the system's built-in camera routine.
Launching the Camera Routine
After successfully connecting to OriginBot via SSH, enter the following command in the terminal:

Info
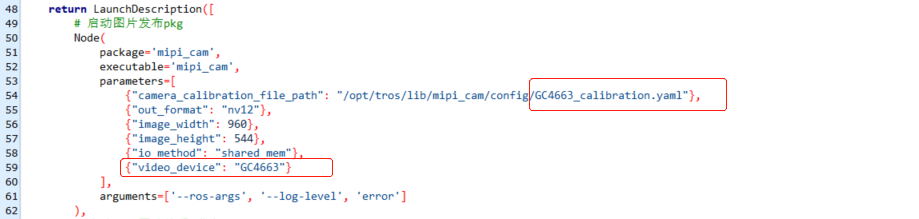
In the 2.x version, the system has realized automatic recognition of camera models through I2C, allowing free switching between devices such as F37 and GC4663.

Viewing the Routine Effect on the Host Computer
After successful operation, open a browser on the PC connected to the same network, enter http://IP:8000, and select the "web display" to view the image and algorithm effect. The IP is the IP address of OriginBot.
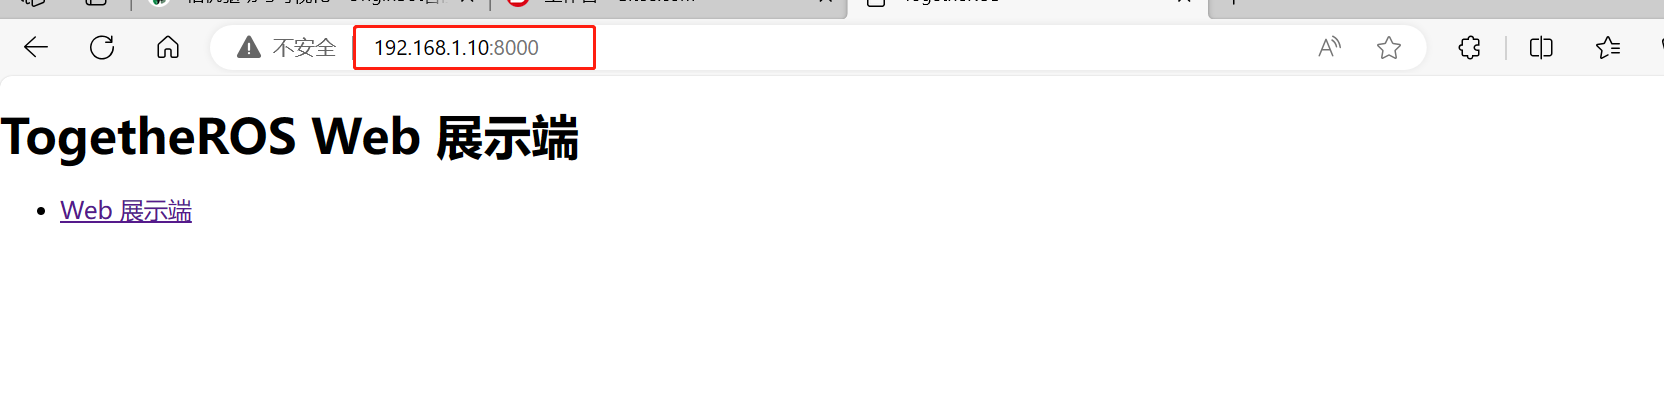
If the camera is driven successfully, we can not only see real-time images but also a demonstration of human body skeleton point recognition, indicating that the camera is operating normally.

Closing the Routine
After running the routine, please use Ctrl+C to close the launch file running in the terminal, releasing the camera hardware resources for subsequent routine. Otherwise, issues such as the camera device not being found may occur:

ROS Image Transmission
After confirming that the previous camera routine has been closed, you can test image subscription and publication in the ROS2 environment.
Launching the ROS Camera Driver
After successfully connecting to the OriginBot via SSH, enter the following commands in the terminal:
$ export RMW_IMPLEMENTATION=rmw_cyclonedds_cpp
$ export CYCLONEDDS_URI='<CycloneDDS><Domain><General><NetworkInterfaceAddress>wlan0</NetworkInterfaceAddress></General></Domain></CycloneDDS>'
$ ros2 launch originbot_bringup camera.launch.py

Info
In order to ensure real-time image transmission, we switch the DDS to cyclonedds here to avoid image delays caused by DDS slicing. cyclonedds defaults to binding a specific network interface for data transmission. Here, we use the second command to specify the wireless network interface wlan0 as the binding interface. You can switch it according to your actual situation. For more information, please refer to DDS Configuration.
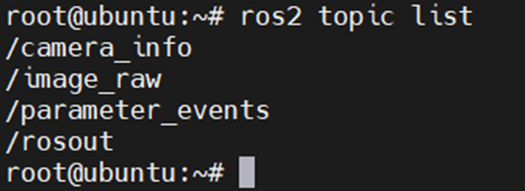
Checking Camera Topics
After successful operation, you can use the following command on the robot side or on a PC connected to the same network to confirm that the image topic has been published normally.
Viewing Visualized Images
On a PC connected to the same network, configure the DDS similarly and use the rqt_image_view tool to see the robot's real-time camera images.
$ export RMW_IMPLEMENTATION=rmw_cyclonedds_cpp
$ export CYCLONEDDS_URI='<CycloneDDS><Domain><General><NetworkInterfaceAddress>wlp2s0</NetworkInterfaceAddress></General></Domain></CycloneDDS>'
$ ros2 run rqt_image_view rqt_image_view

Info
Here, we use the second command to specify the wireless network interface wlp2s0 as the binding interface.The name is related to the computer system, and you can use ifconfig to check it. You can switch it according to your actual situation. For more information, please refer to DDS Configuration.

Besides the /image_raw node, the /compressed_image node contains compressed jepg images, which perform better in data transmission. However, since jepg format cannot be subscribed in RVIZ or rqt, the /bgr8_pub node is added, which is a publishing node that compresses and then restores the image to bgr8 format.
This allows us to verify the effectiveness of compressed images and achieve up to 30fps display in RVIZ.

Appendix: DDS Configuration
ROS2 Foxy uses fastdds by default, which can be limiting in image transmission scenarios. In such cases, we can switch to cyclonedds.
Installing DDS
cyclonedds is already configured in the OriginBot image. If you want to configure it on your computer, you can use the following command to install it:
Switching DDS
In the terminal where you are running the commands, use the following command to set the DDS:
By default, CycloneDDS will bind to a specific network interface for data transmission. If you need to switch the bound network interface, you can enter the following command in the same terminal:
$ export CYCLONEDDS_URI='<CycloneDDS><Domain><General><NetworkInterfaceAddress>wlan0</NetworkInterfaceAddress></General></Domain></CycloneDDS>'
Hint
The middle parameter is the name of the bound network card. Modify it as needed to eth0、wlan0,or the actual network card device number. Reference link: http://www.robotandchisel.com/2020/08/12/cyclonedds/
You can use the following command to check if the DDS used in the current terminal has been successfully switched:

Once the switch is confirmed to be successful, you can run the node that publishes data in the current terminal, such as the camera publisher node:
In the running terminal, you can see the network card that is currently bound to publish data by fastdds.

