EKF multi-sensor fusion positioning
Hint
The operating environment and software and hardware configurations are as follows:
- OriginBot robot(Navigation Version)
- PC:Ubuntu (≥20.04) + ROS2 (≥Foxy)
EKF Introduce
EKF stands for ExtendedKalmanFilter, which is a high-efficiency recursive filter (autoregressive filter).
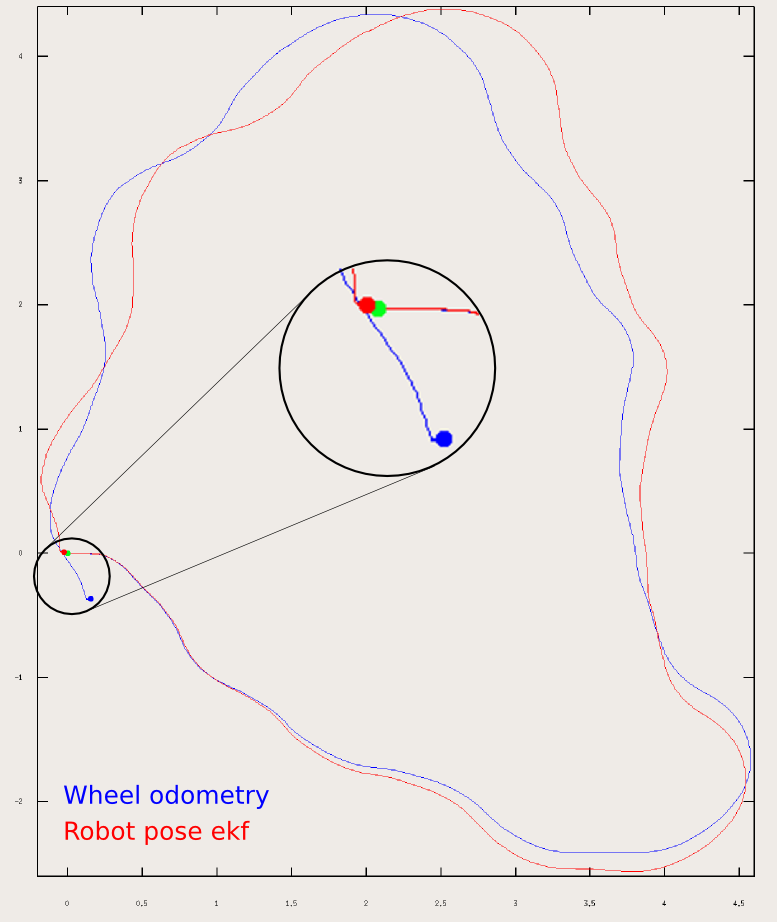
In ROS, it is possible to estimate the 3D pose of the robot based on (partial) attitude measurements from different sources. It can use an extended Kalman filter with a 6D model (3D position and 3D orientation) to combine measurements from a wheel odometer, an IMU sensor, and a visual odometer.

It has the following characteristics:
- Any number of sensors can be fused. The EKF node does not limit the number of sensors, and if the robot has multiple IMUs or multiple odometers, the state estimation node in the robot_localization can fuse data from all the sensors.
- Multiple ROS message types are supported. The state estimation node in robot_localization can receive a number of common pose-related message types, such as: nav_msgs/Odometry、sensor_msgs/Imu、geometry_msgs/PoseWithCovarianceStamped 或 geometry_msgs/TwistWithCovarianceStamped 。
- The input data for each sensor can be set. If you are subscribing to a sensor message that contains data that you don't want to fuse into the state estimate, the state estimate node in robot_localization can set the input data for each sensor.
- Continuous estimates. Each state estimation node in the robot_localization begins estimating the state of the vehicle as soon as it receives a single measurement. If sensor data is lost and data is not received for a long time, the EKF node will estimate the state of the robot using an internal motion model.
Parameter configuration
As can be seen from the above, if you want to use ekf to process the pose of the robot, you need at least two parameters to make sense, here we take the fusion of odom and IMU data as an example, the configuration file directory is/originbot_navigation/config/ekf.yaml, the following are the configuration parameters of the IMU part:
# The filter accepts an arbitrary number of inputs from each input message type (nav_msgs/Odometry,
# geometry_msgs/PoseWithCovarianceStamped, geometry_msgs/TwistWithCovarianceStamped,
# sensor_msgs/Imu). To add an input, simply append the next number in the sequence to its "base" name, e.g., odom0,
# odom1, twist0, twist1, imu0, imu1, imu2, etc. The value should be the topic name. These parameters obviously have no
# default values, and must be specified.
        odom0: odom

# Each sensor reading updates some or all of the filter's state. These options give you greater control over which
# values from each measurement are fed to the filter. For example, if you have an odometry message as input, but only
# want to use its Z position value, then set the entire vector to false, except for the third entry. The order of the
# values is x, y, z, roll, pitch, yaw, vx, vy, vz, vroll, vpitch, vyaw, ax, ay, az. Note that not some message types
# do not provide some of the state variables estimated by the filter. For example, a TwistWithCovarianceStamped message
# has no pose information, so the first six values would be meaningless in that case. Each vector defaults to all false
# if unspecified, effectively making this parameter required for each sensor.
        odom0_config: [true, true, false,
                       false, false, true,
                       true, true, false,
                       false, false, true,
                       false, false, false]

        #        [x_pos   , y_pos    , z_pos,
        #         roll    , pitch    , yaw,
        #         x_vel   , y_vel    , z_vel,
        #         roll_vel, pitch_vel, yaw_vel,
        #         x_accel , y_accel  , z_accel]

# If you have high-frequency data or are running with a low frequency parameter value, then you may want to increase
# the size of the subscription queue so that more measurements are fused.
        odom0_queue_size: 10

# [ADVANCED] Large messages in ROS can exhibit strange behavior when they arrive at a high frequency. This is a result
# of Nagle's algorithm. This option tells the ROS subscriber to use the tcpNoDelay option, which disables Nagle's
# algorithm.
        odom0_nodelay: false

# [ADVANCED] When measuring one pose variable with two sensors, a situation can arise in which both sensors under-
# report their covariances. This can lead to the filter rapidly jumping back and forth between each measurement as they
# arrive. In these cases, it often makes sense to (a) correct the measurement covariances, or (b) if velocity is also
# measured by one of the sensors, let one sensor measure pose, and the other velocity. However, doing (a) or (b) isn't
# always feasible, and so we expose the differential parameter. When differential mode is enabled, all absolute pose
# data is converted to velocity data by differentiating the absolute pose measurements. These velocities are then
# integrated as usual. NOTE: this only applies to sensors that provide pose measurements; setting differential to true
# for twist measurements has no effect.
        odom0_differential: false

# [ADVANCED] When the node starts, if this parameter is true, then the first measurement is treated as a "zero point"
# for all future measurements. While you can achieve the same effect with the differential paremeter, the key
# difference is that the relative parameter doesn't cause the measurement to be converted to a velocity before
# integrating it. If you simply want your measurements to start at 0 for a given sensor, set this to true.
        odom0_relative: false

# [ADVANCED] If your data is subject to outliers, use these threshold settings, expressed as Mahalanobis distances, to
# control how far away from the current vehicle state a sensor measurement is permitted to be. Each defaults to
# numeric_limits<double>::max() if unspecified. It is strongly recommended that these parameters be removed if not
# required. Data is specified at the level of pose and twist variables, rather than for each variable in isolation.
# For messages that have both pose and twist data, the parameter specifies to which part of the message we are applying
# the thresholds.
        odom0_pose_rejection_threshold: 20.0
        odom0_twist_rejection_threshold: 1.542
First you can see that at the top is the subscribed topic, which is /odom, and then the odom0_config is to configure which odom data to use, and the meaning of the data represented by each location corresponds to the comments below. The following configuration parameters are related to the communication, data processing, and queue size configurations. You can see the specific meanings in the configuration file.
The configuration of the IMU part is almost identical, and you can view it yourself.
Use EKF
Now you can try to use EKF to fuse ODOM and IMU data to achieve more accurate positioning.
Start the robot chassis first:
Here we enable the chassis drive and IMU of the robot, while disabling the tf issued by odom from the odom coordinate system to the base_footprint coordinate system.
The ekf can then be used to fuse the IMU and odom data and publish the odom coordinate to the tf of the base_footprint coordinate.
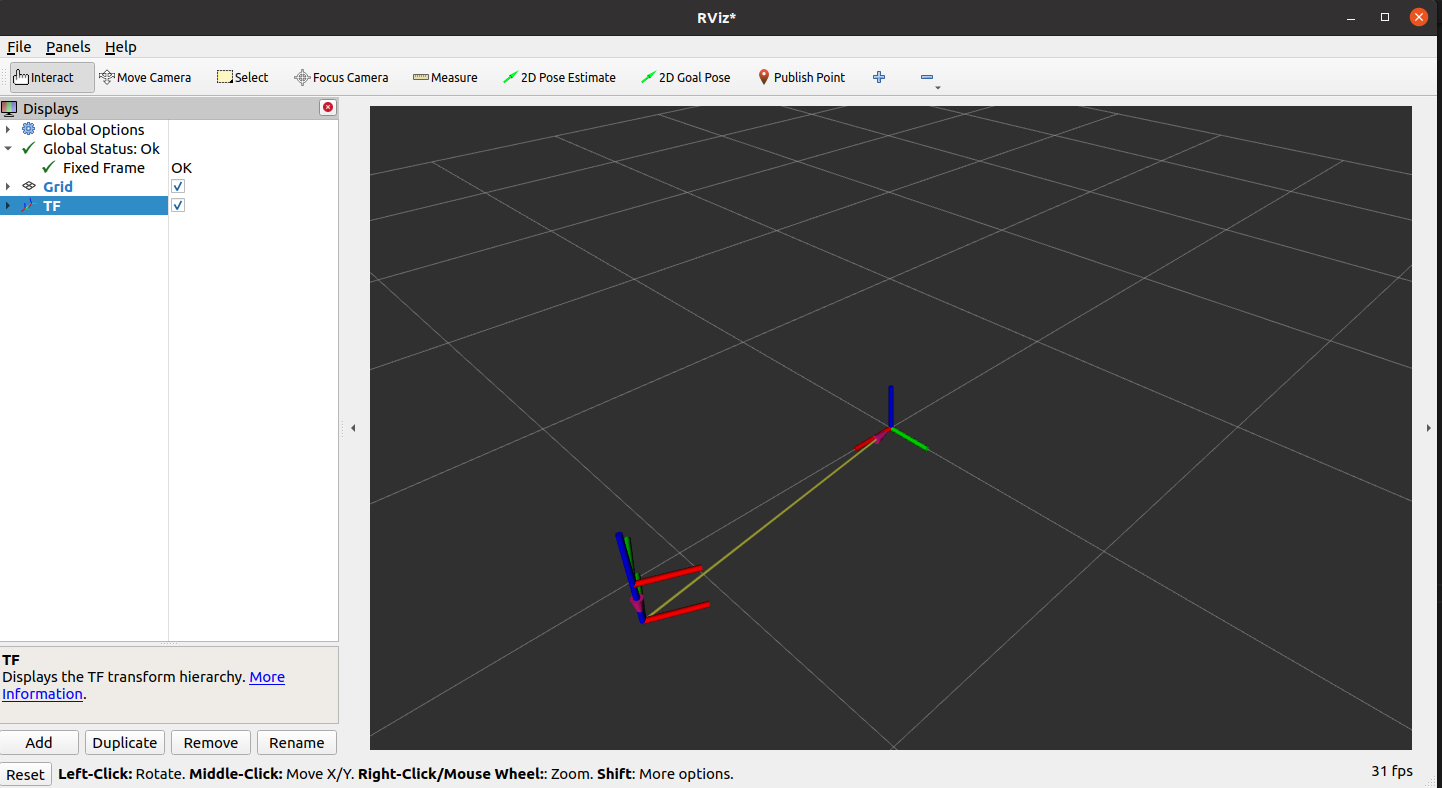
After the startup is complete, you can open Rviz on the PC to view the real-time pose of the robot:
 If you need to adjust the parameters of the ekf, you can modify it directly "originbot_navigation/config/ekf.yaml".
